Yggdrasil Plug and Play Linux
Bringing an ancient distro back from the grave
Last updated on June 27, 2021. Created on December 30, 2020.
Early in 1995 I was working answering the phone for a taxi company in the day and taking classes in C programming offered by the University at night. I didn't have any good C compilers at the time, but I remember the lecturer mentioning after class one night that a new UNIX operating system had just been released, and it was totally free. It was called 'ly-nucks' or something similar.
About a week later I was in a bookstore and somehow stumbled upon the CD release of Yggdrasil Plug and Play Linux. On the back it offered a complete development environment: GNU C and C++, Ada, Prolog, editors and a debugger, and much more. This must be it. My first Linux.
I always find the Chrimbo/New Year period a time for indulging in a little nostalgia. Playing and old favourite game, skimming through an old textbook, that kind of thing. So this year I decided to sit down with a couple of beers and try to get old Yggdrasil up and running again to remind myself of what things were like 'back in the day'.
Yggdrasil came as a CD with a little booklet. You inserted the CD into your DOS or Windows machine and it contained a floppy disk image and DOS software that could write the image to a disk. Booting the disk then probed for a CD drive and launched the kernel on the CD. From there you could log in to a demonstration shell that ran from a ramdisk, or launch a script that could then install the OS to a hard drive. Looking back, it was a really clever way to bootstrap a system — a precursor to 'live CD' distributions.
The ArchiveOS site hosts five archives related to Yggdrasil: a snapshot of the main distribution, and four tarballs containing alternative distributions (Debian, Slackware) and miscellaneous software collections. Unfortunately the main archive is not an ISO9660 image of the CD, but looks like a tarball of a complete installation. It is enough.
First thing is to unzip the archive and grab the floppy image that is used to boot the system.
$ bunzip2 Yggdrasil-1994.tar.bz2
$ tar xf Yggdrasil-1994.tar ./bootflpy.144
Interestingly, the kernel (vmlinux) is also a floppy disk image containing a valid boot sector at the start that jumps to the startup_32 entry point. The bootflpy.144 image contains LILO though, which is useful for providing command line arguments to the kernel.
The next thing is to convert the tarball into an ISO9660 filesystem that can be mounted by the kernel. The utilities archivemount and genisoimage are handy for this, although the process takes a while.
$ mkdir mnt
$ archivemount Yggdrasil-1994.tar mnt
$ genisoimage -iso-level 4 -R -U \
    -allow-leading-dots -cache-inodes \
    -v -o yggdrasil.iso mnt
Side note: the AUTHORS section of the genisoimage man page includes a Copyright by Yggdrasil Computing, Inc. So it's nice to use this tool to re-animate the Yggdrasil distribution.
Create a generous 10G hard drive to use for installing the distribution.
$ qemu-img create -f qcow2 hdd.qcow 10GThere are now enough pieces to kick the whole thing into life!
$ qemu-system-i386 -enable-kvm -cpu 486 -m 64 \
    -drive file=bootflpy.144,format=raw,if=floppy,index=0 \
    -drive file=hdd.qcow,format=qcow2,if=ide,index=0 \
    -drive file=yggdrasil.iso,format=raw,if=ide,index=1 \
    -boot order=a -name yggdrasil -k en-us -sdl -vga cirrus
This starts QEMU emulating an Intel 486 with 64MB RAM, the bootable floppy disk inserted, the hard disk image attached to /dev/hda and the ISO image attached to /dev/hdb. It also sets an en-us keyboard map and emulates a Cirrus Logic CLGD5446 video card.
From the LILO prompt, boot linux with the ISO as the root filesystem.
boot: linux root=/dev/hdb
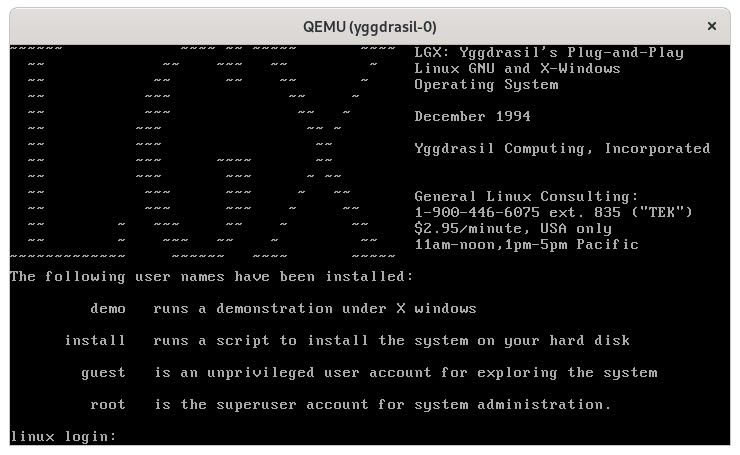
The system eventually boots to a login prompt.

Installing
Logging in as install starts a script to set up the system to boot from the hard disk. I created a new primary partition on /dev/hda taking all the available space, ignoring swap and home partitions. The script formatted the partition and wrote the base system files. I let it take over the MBR so that it would boot directly, and let it mount /dev/hdb as /system_cd. Running LILO to write the configuration persists it for the next boot.
With the hard drive image set up and bootable, QEMU can skip the floppy boot process.
$ qemu-system-i386 -enable-kvm -cpu 486 -m 64 \
    -drive file=hdd.qcow,format=qcow2,if=ide,index=0 \
    -drive file=yggdrasil.iso,format=raw,if=ide,index=1 \
    -boot order=c -name yggdrasil -k en-us -sdl -vga cirrus
X11R6
The CLGD5446 video card emulated by QEMU is not supported out-of-the-box (it hadn't been released yet in 1994). Fortunately the CLGD5446 is an enhanced version of the chipset in the CLGD5426 (which is supported) with differing hardware acceleration capabilities.

The trick is to configure X to use the CLGD5426 but disable the hardware acceleration. The relevant part of the configuration file (/var/xconfig/Xconfig) is:
ps/2 "/dev/psmouse"
BaudRate 1200
vga256
Chipset "clgd5426"
Modes "1024x768" "1024x768i" "800x600" "640x480"
option "noaccel"
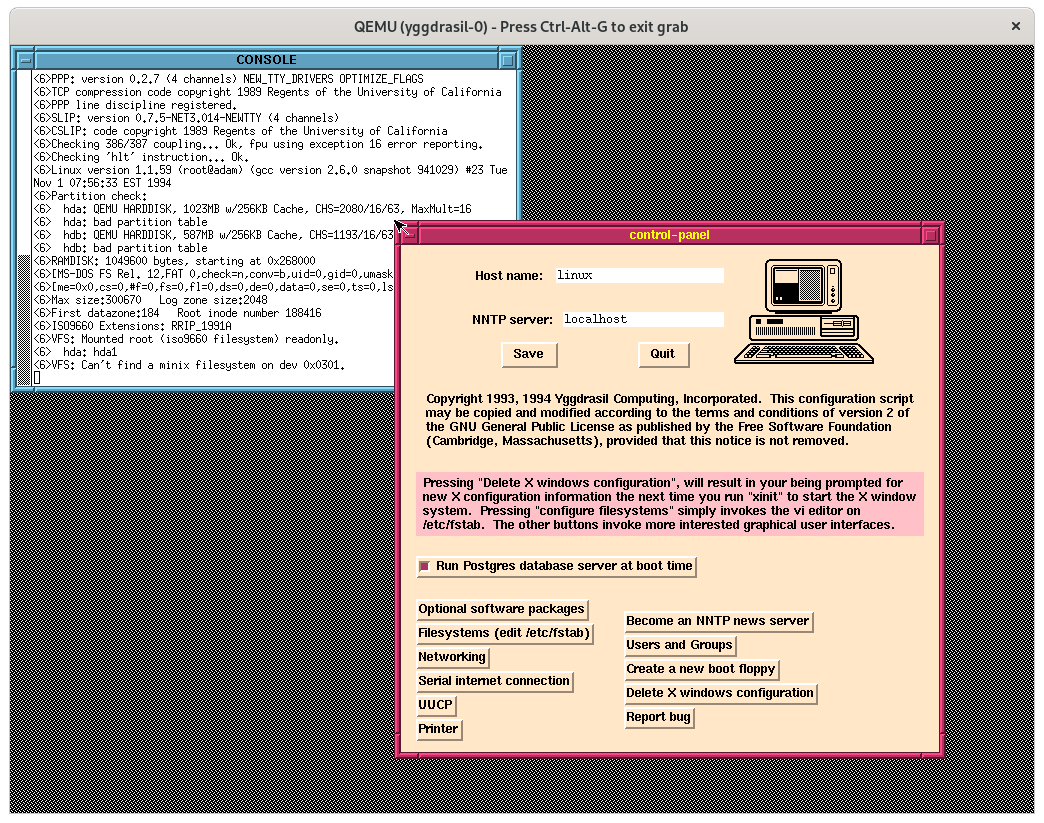
The option "noaccel" needs to be added manually. Running /usr/X11/bin/configure-x.sh creates a configuration file at /var/xconfig/Xconfig which can be edited before running startx. Alternatively, just running startx will call the configuration script which can be edited within X. In this case X needs to be terminated (ctrl-alt-backspace) and restarted, however terminating X clobbers the console in a way that I can't seem to recover: black text on a black background, but it still works.
That was a fun way to indulge a little nostalgia. Next year around this time I might spin it up again and try to join this 'internetwork of connected computers' I keep hearing about...